Rollator Brake Maintenance: Check, Adjust and Know When to Stop

Rollator brakes need a quick check before each use, a simple adjustment when the levers feel loose, and a technician when a cable is frayed or a part is damaged. Most loose brakes come down to cable slack or worn pads, and the fix for slack takes about ten minutes with a wrench. This guide shows you how to check, adjust and test the brakes, and where to stop and hand the job to someone qualified.
It is written for people who use a four-wheeled walker at home, and for the family members and caregivers who keep it in working order.
TL;DR
- Squeeze both brake levers before every outing. The wheels should lock fully and stay locked with the parking brake on.
- Loose levers are usually fixed by loosening the locking nut, turning the cable adjuster until the brake block sits a few millimetres from the tire, then tightening the nut again.
- Test after every adjustment: spin each wheel, squeeze the levers, and confirm the wheel runs freely when released and stops when squeezed.
- A frayed or kinked cable, a cracked handle or brake pads worn flat are not DIY adjustments. Stop using the rollator and contact your dealer or a technician.
- If a rollator you rent or borrow does not brake properly, do not make do. Swap it for one that does.
Table of Contents
- Why rollator brakes deserve more attention than the rest of the frame
- Know your brake type before you touch anything
- The 60-second check before every outing
- How to adjust loose rollator brakes
- Testing after you adjust
- When a brake needs more than an adjustment
- How often should you maintain a rollator?
- Brakes on the other equipment you may have at home
- Safe use matters as much as brake condition
- What we do at Seventh Chakra
- Our perspective: rent when the brakes are in doubt
- FAQ
- Sources
Why rollator brakes deserve more attention than the rest of the frame
A four-wheeled walker has hand-operated brakes, and Alberta Health Services notes that users need to learn how to use them and need hands strong enough to squeeze them. That sentence hides a practical point: the brakes are the one system that turns a rolling frame into a stable support. A rollator with weak brakes can roll away when you stand up from the seat or lean on it on a slope.
The frame can look perfect while the brakes have drifted. Cables stretch with use, pads wear, and nuts loosen from vibration on sidewalks and curb cuts. Because the change is gradual, the person using the rollator often adapts without noticing, squeezing harder or pulling the levers further back each month.
That is why the habit matters more than the tools. A ten-second check at the door catches most problems before they become a fall.
Know your brake type before you touch anything
Most rollators sold in Canada use one of two layouts, and the adjustment differs.
External cable brakes
The brake cable runs outside the frame from each handle lever down to a brake block that presses on the rear wheel. You can see the cable, the locking nut and the adjuster. These are the easiest to adjust and the easiest to inspect for damage, but the exposed cable can snag on car doors, bus steps or a folded frame.
AHS distinguishes between internal and external braking systems. It says that internal systems, while potentially heavier, reduce the risk of cable damage in transit and suit people who often travel by plane or bus.
Internal or cable-free brakes
Here the cable is routed through the frame, or there is no cable at all. Some manufacturers say that cable-free systems reduce the risk of jammed wires and are easy to maintain. The trade-off is that there is less for you to adjust at home. One cable-free model’s manual says not to adjust the brake tension until the wheels lose their molding sheen, which shows how different these systems are from a standard cable brake. If you have this kind of rollator, read your own manual before turning anything.
The parking brake
On most rollators you push the levers down to lock the wheels for sitting. This is the same mechanism as the running brake, so a cable that has stretched affects both. The manufacturer of one popular Canadian-market model says to always use the parking brake when sitting on the seat.
The 60-second check before every outing
Manufacturer guidance is consistent here. One Canadian-market manual says to always check that the brakes are working before using the rollator. Another says to check brake performance daily, expecting engaged brakes to bring the wheels to a full stop.
Here is a routine that takes about a minute:
- Park on a flat surface. Stand beside the rollator, not behind or on it.
- Squeeze both levers. Each lever should have firm resistance well before it reaches the handle grip. If a lever pulls all the way back with no resistance, the cable is too slack.
- Push the rollator forward with the levers squeezed. Both rear wheels should refuse to turn. If one wheel slides, that side needs adjusting.
- Lock the parking brake and push again. The wheels should stay stationary.
- Release the levers. The wheels should spin freely, with no rubbing sound or drag.
- Look and feel. Check for loose parts, cracks, a frayed cable end and tires worn flat. The same manual that sets the daily check also says to inspect regularly for signs of damage, loose parts or wear.
If the rollator fails step 3 or 4, do not use it for support until it is fixed. A caregiver should do this check as well as the user, because the user may have adjusted to a weak brake without noticing.
How to adjust loose rollator brakes
This section covers standard external cable brakes. Brands differ in detail, so your own manual wins whenever it disagrees with this page.
What you need
- A wrench that fits the locking nut. Many rollators use a 10 mm nut, but check yours.
- Your fingers for the adjuster, which is usually knurled or has flats.
- A flat floor and a few minutes of light.
Steps
- Fold nothing, and keep your hands clear. Keep fingers away from moving parts, especially if you fold or unfold the frame while working. The manufacturer warns about trapping hazards when folding or unfolding the rollator.
- Find the adjuster. It sits on the cable near the wheel or just above the brake block, depending on the model. There is a locking nut beside it.
- Loosen the locking nut. Turn it counterclockwise a few turns, enough to let the adjuster move.
- Turn the cable adjuster. One manual describes setting the brake block about 2 mm from the brake. Another gives about 3 mm between the brake pad and the tire. The exact number is model-specific, which is why the manual matters. Small turns work best, a quarter or half turn at a time.
- Tighten the locking nut. Hold the adjuster still while you tighten, or it will creep.
- Repeat on the other wheel. Aim for matching feel on both sides. One wheel braking harder than the other can steer the rollator off line.
- Test. See the next section.
Common mistakes
- Over-tightening. If the pad drags on the tire when the levers are released, you have gone too far. The wheel should run freely.
- Adjusting only one side. Cables stretch at similar rates, so if one side is loose the other is probably close behind.
- Fixing a brake that is actually worn. If you have adjusted as far as it goes and the lever is still soft, the cable or pad is the problem, not the setting.
Testing after you adjust
The test is simple, and one manufacturer says it plainly: spin the wheel and squeeze the brake levers, and the wheels should run easily when you let go.
Then go one step further than a bench test:
- Lift the back of the rollator slightly and spin each rear wheel. Look for rubbing.
- Squeeze the levers and try to push the rollator forward. It should not move.
- Lock the parking brake and lean down on the handles with moderate pressure, standing beside it. It should hold still.
- Take a few steps on a flat hallway with a helper, braking gently from walking speed.
If any wheel rolls when it should be locked, go back to the adjuster. If the adjuster has no more travel, stop and look at the cable and pads.
When a brake needs more than an adjustment
An adjustment compensates for stretch. It cannot compensate for damage. These are the signs that the brake needs a replacement part:
- Frayed, kinked or rusted cable. Broken strands near the lever or the brake block mean the cable can fail without warning.
- Cracked or loose brake lever or handle. If the lever wobbles or the grip moves, the brake may not transmit force.
- Brake block or pad worn thin or glazed. The pad should bite the tire. A smooth, shiny or flattened pad slips.
- Tires worn flat or cracked. Worn tires reduce how well the brake grips.
- A lever that goes slack again within days. That points to a slipping locking nut, a damaged cable end or a worn part, not just stretch.
The manufacturer guidance on who does what is clear. Repairs other than small paint repairs, wheel replacement and brake adjustment should be done by qualified personnel at the supplier or a technical aids centre, and you should contact the dealer if the brakes are defective. The same manual also says to avoid modifications or conversions, because the rollator’s safety is designed into its construction. That rules out swapping in a generic cable you cut to length yourself or bolting on aftermarket parts without confirming they fit your model.
If you do replace a cable, use a part made for your model, and expect to adjust the brakes afterwards. Cable replacement often involves removing the handle and grip, so for most families it is a job for a mobility equipment technician or the supplier.
How often should you maintain a rollator?
There is no single rule that fits every model, but the pattern in manufacturer guidance is consistent:
| Interval | What to do |
|---|---|
| Before each use | Squeeze the levers, test the parking brake, look for loose parts |
| Daily | Confirm that engaged brakes bring the wheels to a full stop |
| Every few weeks | Check the locking nuts, tire wear and cable ends |
| Periodically, or when needed | Have the rollator serviced by a professional |
For parts that wear out, one manufacturer document recommends that non-durable components such as wheels and brakes be replaced at least every 18 months or between patient uses. That document is from a United States supplier, so treat it as a useful benchmark, not a Canadian rule. Heavy daily use, rough pavement and wet weather shorten the interval. For Vancouver users, that last point is real: winter rain and grit on the wheels and cables go a long way toward wearing out pads and tires.
Keep the brakes clean
Brake surfaces and handles are touched all the time. Public Health Ontario guidance, summarized by a mobility equipment manufacturer, identifies push handles and wheel locks as high-touch areas to focus on when cleaning shared wheelchairs. The same logic applies to a rollator that more than one person uses. Wipe handles and levers, and keep oil and cleaning spray away from the pad and tire surfaces, since a slick pad will not grip.

Brakes on the other equipment you may have at home
If you are caring for someone after surgery or a fall, the rollator may be one of three or four pieces in the house. The same habit works for each.
- Wheelchairs. Wheel locks need the same squeeze-and-push check. We cover the full routine in our wheelchair maintenance checklist.
- Mobility scooters. Check that the scooter stops smoothly when you release the throttle, that the parking brake holds on a slope and that the battery is charged before you head out. Our mobility scooter rentals are delivered set up, but you should still test the stop and the parking hold yourself on delivery day.
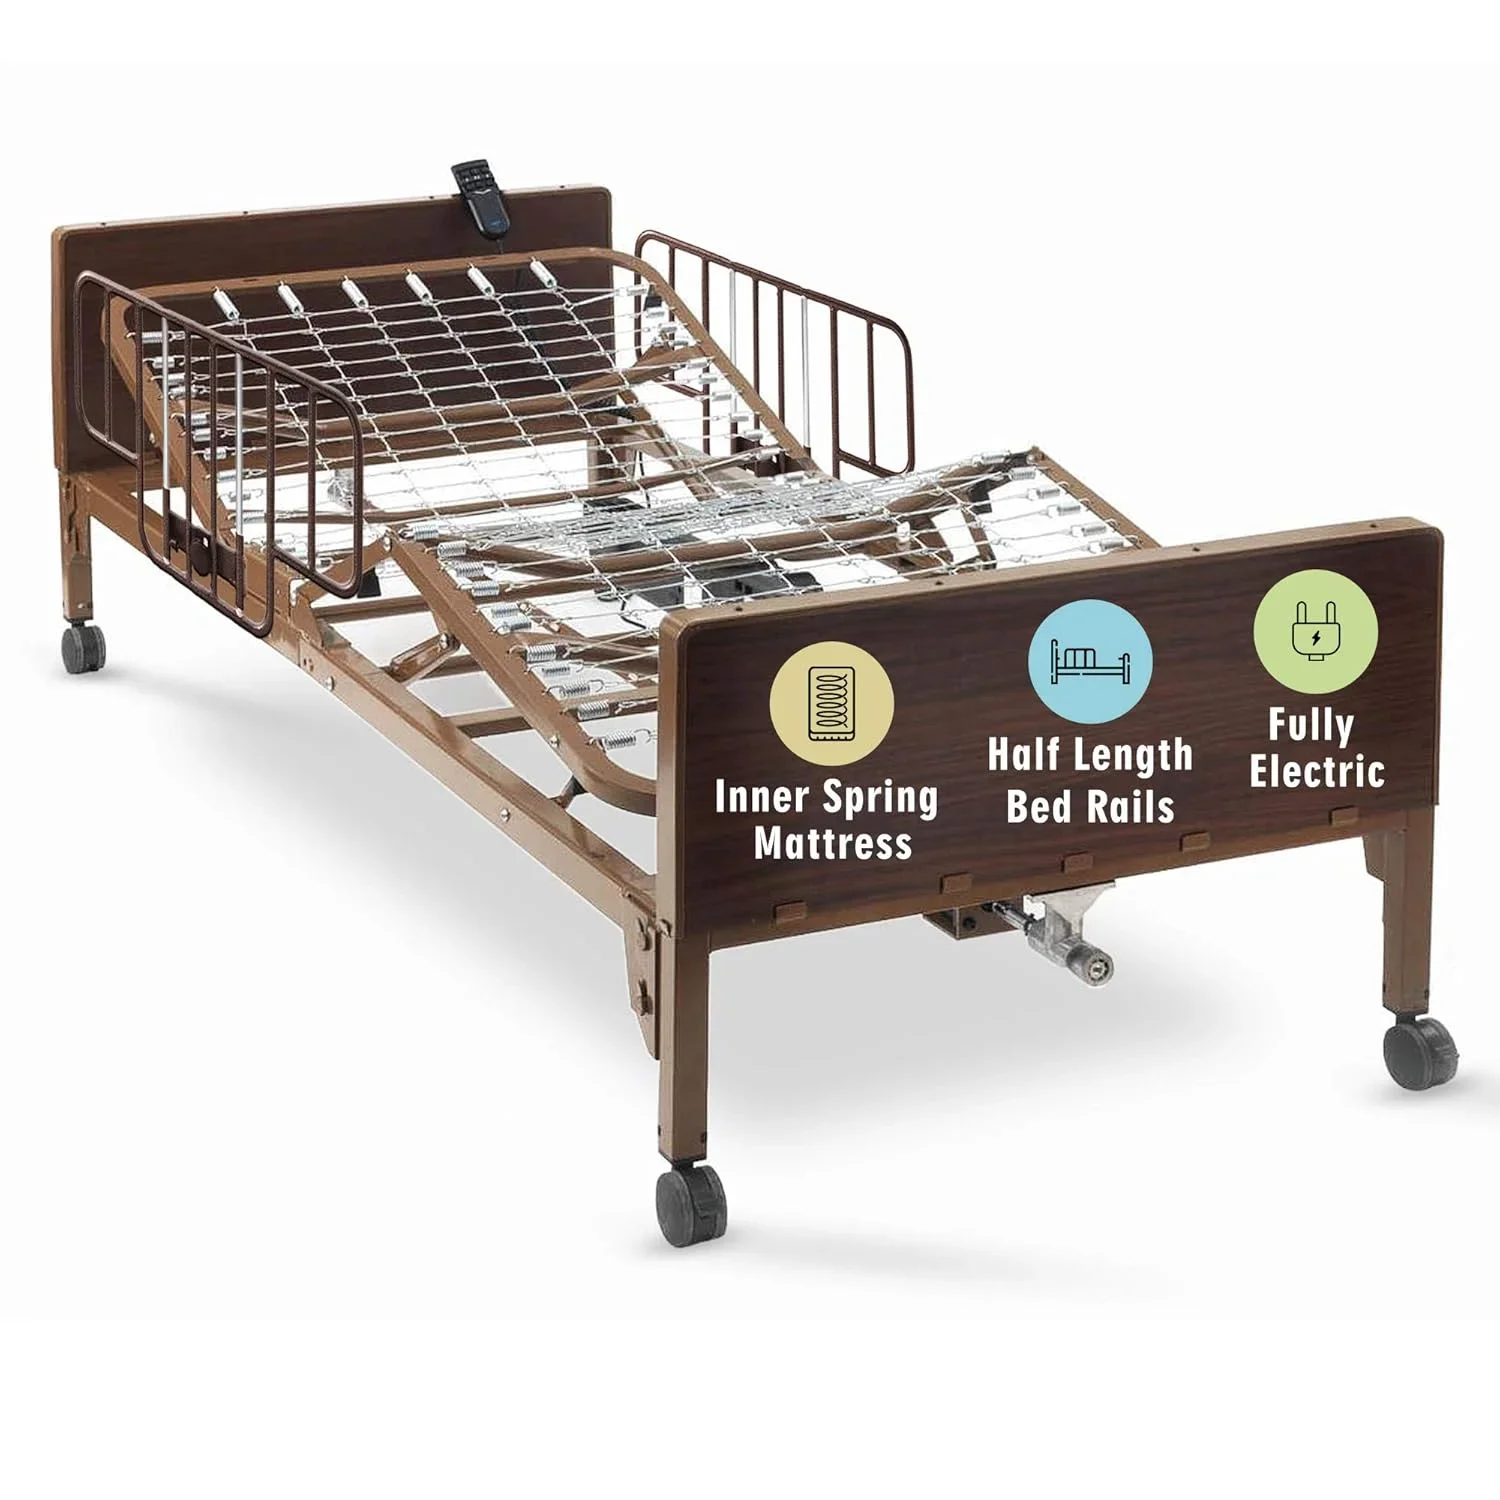
- Hospital beds. Castor locks should be on whenever the bed is in position and the person is getting in or out. Press on the frame to check that it does not drift. If you rent a bed, confirm that the installer shows you how the locks work. See our hospital bed rental page for what is included.
Safe use matters as much as brake condition
A well-adjusted brake still depends on how the rollator is used. Always lock both brakes before sitting down, and never use the seat as a transport chair unless the model is built for it. Keep the rollator close to your body when turning, and slow down before curbs.
Strength and balance change how safely you handle all of this. Strong hands make the levers easier to squeeze, and steady legs make it easier to stop and stand. If you want to work on that, this guide to balance training for seniors covers exercises aimed at preventing falls. Ask your physiotherapist which ones fit your situation.
If the walker’s height seems off, that affects control too. Our guide to adjusting walker height walks through it in six steps.
What we do at Seventh Chakra
We rent and sell mobility equipment across Greater Vancouver, including Surrey, Burnaby and Richmond. Our rental equipment is sanitized before delivery, delivery can be same-day, and there is no deposit. A rollator that you rent from us should arrive with brakes that hold. If you find otherwise, tell us and we will sort it out.
Our 4-wheel rollator walker rental starts from $60 per week. If you also need a wheelchair, our standard wheelchair rental is from $75 per week, and a hospital bed is from $175 per week. A mobility scooter is from $200 per week. Delivery fees are on our delivery fees page: small items are $30 to $60 one way, and a large install is $250 one-off. You can see the full range on our rentals page.
Prices are those published on our site in 2026, so check the page for the current rate.
Our perspective: rent when the brakes are in doubt
We see the same pattern with families. Someone brings a walker out of the garage after a hip or knee operation. It was bought years ago, or passed along by a neighbour. The brake cables are stiff, the pads are glazed, and nobody has checked it since the last user. The family wants to save money, and that is understandable, but a walker that has sat unused is exactly the kind that needs a hands-on check.

Our view is simple. A brake adjustment is a reasonable home task. A brake that needs a part is not, and a person recovering from surgery should not be the test pilot. If you have any doubt after the 60-second check, put the old rollator aside. For a short recovery, renting a unit that has been checked and sanitized is often more practical than repairing one you do not know the history of. You use it for as long as you need and then it goes back.
For longer needs, buying makes more sense, and then the maintenance schedule above becomes yours. Whichever you choose, ask whoever supplies the rollator to show you the brake check before they leave. It takes a minute and it is the most useful thing to learn on day one.
— Chandan
FAQ
Do rollators have brakes?
Yes. Four-wheeled walkers have hand-operated brakes, and the user needs hands strong enough to squeeze them, according to Alberta Health Services. Most also have a parking brake that locks the wheels when you push the levers down. Rollator-style walkers without brakes are not what most people mean by that name.
How tight should rollator brakes be?
The brake should hold the wheel firmly when squeezed and let it spin freely when released. Manufacturer manuals describe setting the brake block roughly 2 to 3 mm from the tire, but the number depends on the model, so use your manual. If the lever pulls to the handle before the wheel locks, tighten it.
Can I change a rollator brake cable myself?
It is possible on some models, but it often means removing the handle and grip, and manufacturers say repairs beyond adjustment and wheel replacement belong with qualified personnel at the supplier. If you are not confident, contact your dealer or a mobility equipment technician. Do not use the rollator until the cable is replaced.
How often should rollator brakes be checked?
Check them before each use and test the stopping force daily if you use the rollator daily. Have it serviced periodically, and replace worn wheels and brake parts before they fail. One US supplier document suggests at least every 18 months for wheels and brakes.
Sources
- Physiotherapy: How to choose and use a 4-wheeled walker, Alberta Health Services
- Gemino 30 user manual
- Rollz Air and Rollz Flow user guide
- Rollator neXus 3 user manual, 2022 edition
- Rollator neXus 3 user manual, 2026 edition
- Rollator maintenance document, wheels and brakes replacement
- Cleaning Seating and Mobility Equipment, Part 1