1–4 Weeks on a Hip Surgery Walker: Six Checks for Vancouver Patients

Most patients walk with a walker within hours of hip replacement surgery, using it for balance and confidence rather than to protect the new joint. The time spent on the device before graduating to a cane varies widely depending on surgeon approach and individual strength. The one rule that matters more than any calendar date: progress based on your clinician’s advice and objective physical checks, and stop immediately if something feels wrong.
TL;DR:
- Most patients use a walker for one to four weeks after hip replacement, with some able to stop using it earlier depending on surgical approach and pre-surgery strength.
- Proper walker height should be set at wrist level with arms relaxed, and learning the three-step walking sequence helps build muscle memory in the first week.
- Transitioning to a cane is safe once you can balance, carry objects, and turn without stumbling, with cane in the opposite hand to reduce load on the joint.
- Falls prevention measures at home, like clearing pathways and installing handrails, significantly reduce risks during early recovery.
- Renting equipment like walkers or wheelchairs with same-day delivery ensures timely access and can support recovery for a few weeks without the costs of purchasing.
Table of Contents
- How long do you actually need a hip surgery walker?
- How to fit and use your walker safely
- When to move to a cane: six checks that matter more than a date
- Home setup and fall prevention while using a walker
- Rehab tips: walking as therapy, not just transportation
- Cleaning and maintenance of your walker
- Common mistakes when using a walker after hip surgery
- Publisher perspective: why timely equipment access matters
- How Seventhchakra can help with equipment for your recovery
- Sources
- FAQ
How long do you actually need a hip surgery walker?
Surgeons now push for same-day walking after hip replacement, and that shift changes how people should think about the walker itself. The device isn’t there to shield your implant from weight. Most modern hip implants can bear weight as tolerated almost immediately, so the walker’s real job is steadying your balance while your muscles, nerves, and confidence catch up to the new joint.
The general progression looks like this, though every timeline bends around individual circumstances:
- Walker or crutches: roughly 1 to 4 weeks
- Cane: typically weeks 2 through 6
- Unassisted walking: commonly between weeks 4 and 12
MedlinePlus notes that most people don’t need any walking aid after 2 to 4 weeks, which lines up with what many surgical practices report. What actually moves that number? Surgical approach plays a real role. A direct anterior approach often lets patients feel steady sooner than a posterior approach does, because less muscle disruption around the hip means less protective guarding when you walk. Pre-surgery strength matters just as much. Someone who was already deconditioned before surgery typically needs more weeks on a walker than someone who was active and strong going in. Fatigue and fear of falling stall plenty of recoveries too, independent of how the joint itself is healing.
Rather than counting days on a calendar, use the objective checks covered further down. They tell you far more about readiness than any generic timeline does.
How to fit and use your walker safely
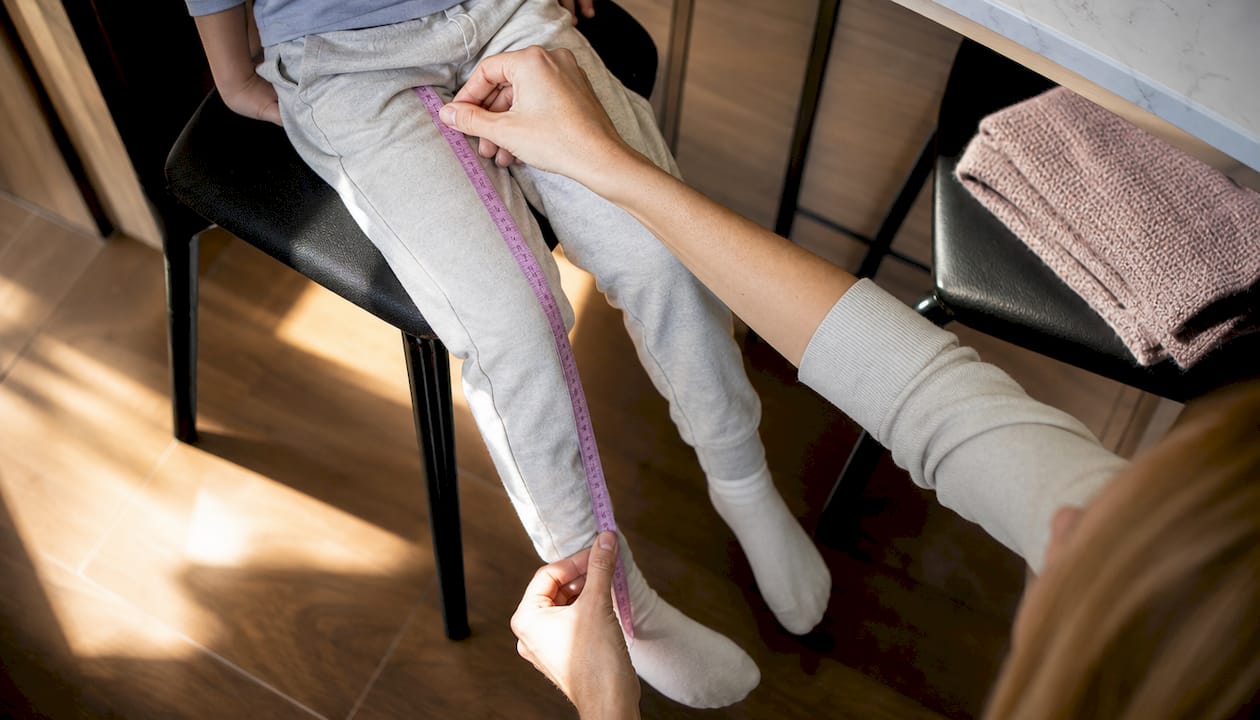
Getting the height right matters more than most patients realize, and it’s worth doing before you even go into surgery. Stand tall, let your arms relax at your sides, and set the walker handles level with the crease on the inside of your wrist. Do this measurement wearing the shoes you’ll actually walk in, since heel height changes the numbers. If you can arrange it, fit and practise with your walker one to two weeks before surgery rather than learning the technique for the first time while recovering from anaesthesia.
The walking pattern itself follows a fixed three-step sequence:
- Advance the walker forward a comfortable, arm’s-length distance.
- Step your operated leg forward into the middle of the walker frame.
- Step your good leg forward to meet or pass it.
That exact sequence comes straight from hospital joint-replacement rehabilitation guidelines, and repeating it deliberately, especially in the first week, builds the muscle memory that makes walking feel automatic later on. Our walking frame guide breaks the mechanics down further if you want more detail.
Standard walkers with no wheels suit patients who need maximum stability early on, while two-wheeled or four-wheeled rollators let more confident patients move faster without the awkward lift-and-place motion. Therapists typically choose the model based on your balance testing before discharge, not personal preference.
Pro Tip: Never plant your walker on a stair edge. Always check that both rubber tips are seated flat and that any locking brakes are engaged before you shift your weight forward.
When to move to a cane: six checks that matter more than a date
Swapping a walker for a cane is a decision, not a milestone you hit automatically. A practical six-check framework gives you something concrete to test against, rather than guessing based on how many weeks have passed:
- Carrying check: can you carry a light object across a room without losing balance?
- One-leg stand: can you balance on the operated leg for several seconds with only fingertip support?
- Light-hands check: are your hands resting lightly on the walker, or are you actually leaning on it for support?
- Even steps: are your left and right strides roughly equal in length and timing?
- Turning test: can you pivot and change direction without stumbling?
- A clean week: have you gone seven days without a stumble, near-fall, or scary moment?
Pass most of these and you’re likely ready to trial a cane, starting indoors on familiar ground. Hold the cane in the hand opposite your operated hip, not the same side. That positioning meaningfully reduces load on the healing joint and improves your balance through each step. Overlap the two devices for a few days rather than switching cold. Keep the walker nearby while you build distance and confidence with the cane.
Fail a check? Step back to the walker, focus on the strengthening exercises your physiotherapist gave you, and call your surgeon’s office if the setback feels sudden or painful rather than just tiring.
Home setup and fall prevention while using a walker
Falls are one of the biggest risks during hip recovery, and fall-prevention research consistently shows that small home changes cut that risk meaningfully. Before you’re discharged, walk through your home with this in mind:
- Clear wide, unobstructed paths between the bedroom, bathroom, and kitchen.
- Remove loose rugs, extension cords, and anything else that could catch a walker leg.
- Improve lighting in hallways and stairwells, including night lights for bathroom trips.
- Swap soft, low chairs for firm ones with armrests you can push off from.
- Install a stair rail and practise stairs with your physiotherapist before you go home. Never take a walker onto stairs.
- Carry items in a small backpack or on a walker tray instead of in your hands.
- Wear supportive, closed-back shoes rather than slippers or loose sandals.
- Check the walker’s rubber tips and brakes weekly and replace worn tips immediately.
If your recovery involves a hospital bed at home, our guide to hospital beds after surgery covers safe transfer heights, which matters just as much as the walkway itself.
Rehab tips: walking as therapy, not just transportation
Short, frequent walks beat one long walk almost every time. Surgeons who guide hip recovery recommend several brief sessions a day early on, gradually stretching the duration as strength returns, rather than pushing for distance too soon.
Hip abductor strength is what actually fixes a limp, so ask your physiotherapist about single-leg stands and gentle side-steps as soon as they clear you for them. Weak abductors are the single most common reason patients keep a subtle limp long after they’ve ditched the walker.
After each walking or exercise session, rest with your leg elevated and apply ice if swelling shows up. That routine of rest, ice, and elevation keeps inflammation from snowballing and makes the next day’s walk easier, not harder.
Pro Tip: If you notice your gait getting worse instead of better after week two, that’s a signal for a gait-retraining session with your physiotherapist, not something to push through alone.
Cleaning and maintenance of your walker
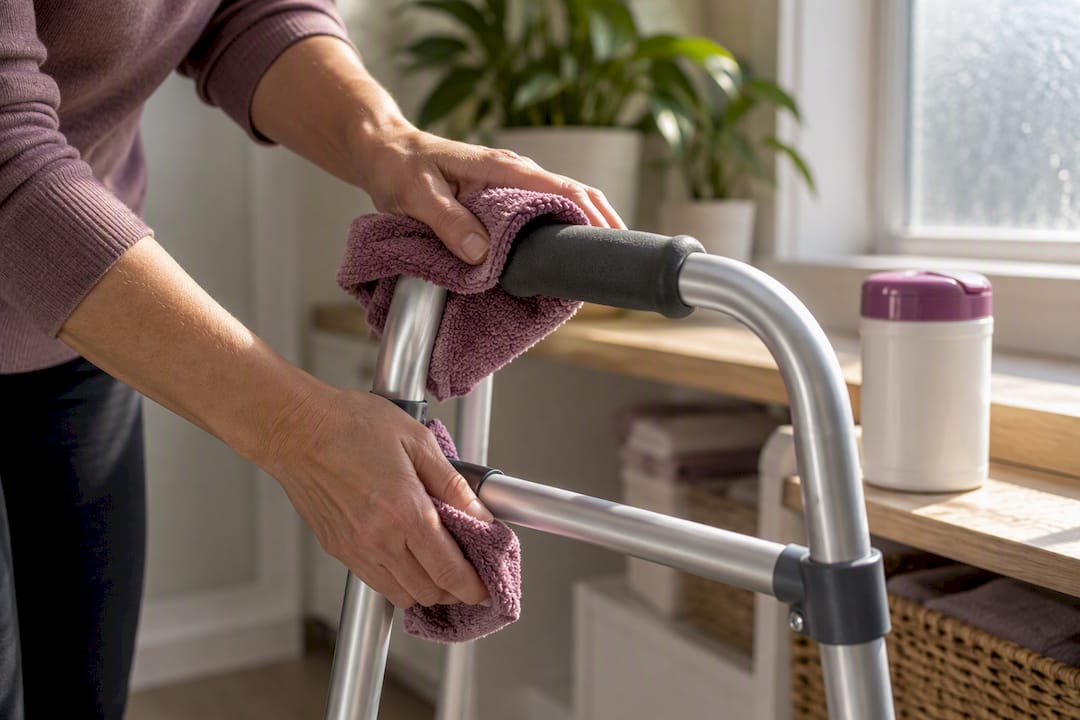
A walker gets handled constantly during recovery, and keeping it clean matters both for hygiene and for how safely it performs. Wipe down the hand grips, frame, and crossbars daily with a disinfectant wipe or a cloth dampened with mild soap and water, paying particular attention to the grips since they pick up the most contact.
Check the rubber tips on the legs every few days. Worn, cracked, or hardened tips lose their grip on smooth flooring, which turns a stable device into a sliding hazard. Replace them the moment you notice wear rather than waiting until they’re smooth.
If your walker has wheels or folding hinges, check that the wheels roll freely and the folding mechanism locks securely each time you open it. A hinge that doesn’t lock fully can collapse mid-step, and that’s a fall risk nobody needs during recovery. Avoid soaking any part of the frame or leaving it in damp conditions, since trapped moisture around joints and hinges can cause corrosion over time.
Store the walker somewhere dry and out of the way of foot traffic when it’s not in use, but still within easy reach for nighttime bathroom trips. A rented unit typically arrives already sanitized and mechanically checked, which removes one more thing to manage during a week when you already have enough on your plate.
Common mistakes when using a walker after hip surgery
Most walker problems come down to a handful of repeated habits, and almost all of them are fixable once you know to watch for them.
Leaning too heavily on the walker is the most common one. Physiotherapists want your hands resting lightly, guiding balance rather than bearing significant weight, since heavy leaning slows the muscle relearning your hip needs. Skipping the three-step sequence and shuffling both feet together instead is another frequent habit, and it tends to create uneven, asymmetric steps that turn into a limp later.
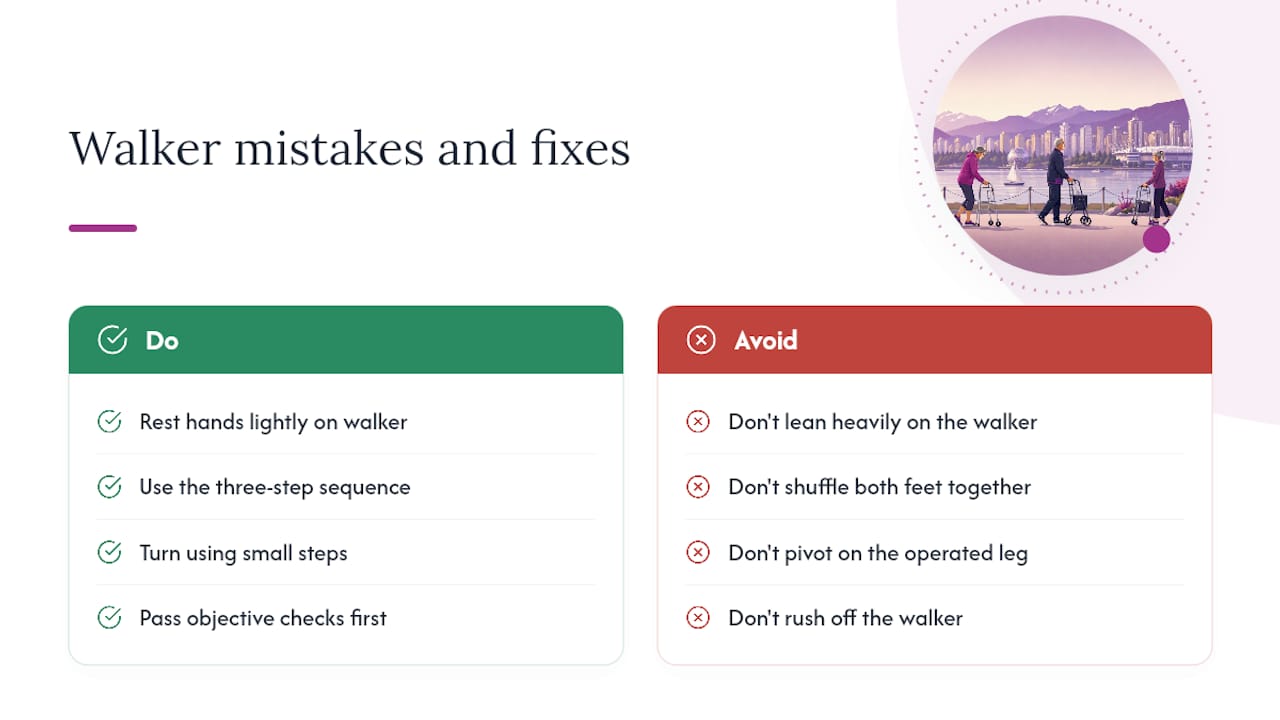
Turning by pivoting on the operated leg rather than taking small steps to turn puts unnecessary twisting force through the new joint. Rushing off the walker before passing the objective checks is probably the riskiest mistake, since a fall in week three can set recovery back further than an extra week of walker use ever would. And ignoring worn rubber tips or loose brakes turns a stable mobility aid into an unpredictable one right when stability matters most.
The fix for nearly all of these is the same: trust the checks over the calendar, and ask your physiotherapist to watch your technique in person at least once during early recovery.
Publisher perspective: why timely equipment access matters
Watching how recovery actually unfolds for hip replacement patients, the biggest avoidable setback isn’t medical. It’s logistical: waiting days for the right walker or a properly fitted rollator while early momentum slips away. Seventhchakra’s approach of same-day delivery and tailored rental terms exists precisely because those first days set the tone for everything after. A sanitized, correctly fitted walker delivered the day you need it removes friction that has nothing to do with your surgery and everything to do with getting equipment into your hands. For a recovery window measured in weeks rather than years, renting the right device for exactly as long as you need it is usually the sensible choice.
— Chandan
How Seventhchakra can help with equipment for your recovery
Getting the right walker fitted and delivered before you’re discharged shouldn’t be the hard part of your recovery. Same-day delivery is available across the Greater Vancouver area, with no upfront deposit required, so you’re not stuck waiting on equipment while your recovery clock is already ticking.

Beyond the Rollator Walker – 4 Wheel rental, Seventhchakra also stocks knee scooters, standard and transport wheelchairs, and hospital beds for patients who need more support at home during the early weeks. Renting makes sense when your need is temporary: a few weeks on a walker, a short pre-op practice period, or a transitional stretch between crutches and a cane. Buying rarely makes sense for a device you’ll use for a month.
Every piece of equipment arrives sanitized and set up, and rental terms flex around your actual recovery pace rather than locking you into a fixed contract. If you’re preparing for hip surgery or already home and adjusting your equipment needs, check current availability and pricing on the rentals page and get what you need delivered the same day you ask for it.
This article is general information, not a substitute for advice from a qualified doctor. Consult a qualified healthcare professional about your own circumstances before acting on anything here.
Sources
- Hip and knee joint replacement patient manual (WRHA)
- Walking after hip or knee replacement: a surgeon’s guide (Dr. Matthew Harb)
- Hip joint replacement—aftercare (MedlinePlus)
FAQ
What type of walker is best after hip surgery?
A standard or two-wheeled walker is usually recommended immediately after surgery because it offers the most stability while you relearn balance. Your physiotherapist will typically assess your progress before recommending a four-wheeled rollator, which moves faster but requires more confident balance control.
How long do you stay on a walker after hip surgery?
Most patients use a walker for 1 to 4 weeks, though this varies with surgical approach and pre-surgery fitness. MedlinePlus reports that most people no longer need a walking aid of any kind after 2 to 4 weeks.
When can I start walking without a walker after a hip replacement?
Unassisted walking typically becomes realistic somewhere between 4 and 12 weeks after surgery, once you can pass balance checks like a one-leg stand and a full week without a stumble. The timing depends far more on your objective progress than on a fixed date on the calendar.
Are crutches or a walker better after hip surgery?
Both serve the same purpose, and the choice usually comes down to what your surgical team recommends based on your balance and upper body strength. A walker generally offers more stability for patients with weaker balance, while crutches suit patients who feel confident moving faster early on.
What does a walker rental cost during hip surgery recovery?
Seventhchakra’s Rollator Walker – 4 Wheel rental starts from $60 per week, with details available on the rentals page. Same-day delivery is available across the Greater Vancouver area with no deposit required.