
Aim for the gentlest slope your space allows. Many accessibility guidance documents recommend a 1:20 slope (5%) wherever there’s room to build it, while 1:12 (about 8.33%) is the common maximum permitted under building-access rules, and only under specific conditions. Slopes are expressed three ways, as a ratio, a percentage, or in degrees, so knowing all three helps you read any code document correctly.
TL;DR:
- The federal model standard caps running slope at 1:20; its 1:12 exception applies only under narrow conditions, so confirm local rules before designing.
- For a 150 mm rise, a 1:20 ramp needs 3,000 mm of run, compared with 1,800 mm at 1:12, before landings are added.
- Long ramps must be divided by level landings, while both sides typically need continuous, graspable handrails and open edges need protective curbs or guards.
- If even 1:12 will not fit, contact the local authority before final drawings and provide measured rise, available run, and a scaled ramp sketch.
Table of Contents
- What rise, run, and slope ratio actually mean
- What Canadian model standards and provincial codes say about ramp slopes
- How to calculate ramp length from vertical rise
- Landings, handrails, and surface details that complete the design
- Choosing a slope in practice, and when steeper is allowed
- Bridging the gap while a permanent ramp gets built
- Keeping a ramp safe over the years
- Indoor versus outdoor ramps in healthcare settings
- Why minimum code slopes aren’t always the right slope
- Seventh Chakra rentals: the easy temporary solution for safe access
- FAQ
- Sources
What rise, run, and slope ratio actually mean
A ramp’s slope compares two measurements: rise (the vertical height you’re climbing) and run (the horizontal distance the ramp covers). The formula is simple: slope percentage equals rise divided by run, multiplied by 100. A ramp with 1 unit of rise for every 20 units of run is written as 1:20, which works out to 5%.
Running slope is the slope along the direction of travel, the number most codes regulate directly. Cross slope is the side-to-side tilt of the ramp surface, and it’s held to a much tighter limit because even a small sideways tilt can pull a wheelchair or scooter off course. Cross slope is typically capped at a fraction of the running slope maximum.
Here’s how the common values compare:
| Ratio | Percentage | Approximate angle |
|---|---|---|
| 1:20 | 5% | 2.9 degrees |
| 1:15 | 6.7% | 3.8 degrees |
| 1:12 | 8.33% | 4.8 degrees |
| 1:10 | 10% | 5.7 degrees |
Lower ratios mean gentler slopes and longer ramps for the same rise. Higher ratios pack the same climb into a shorter run, but demand more effort and control from the person using it.
What Canadian model standards and provincial codes say about ramp slopes
The CAN-ASC-23 model standard for the built environment, developed under the Accessible Canada Act for federally regulated entities, sets a maximum running slope of 1:20 for ramps, and applies the same 1:20 maximum to curb ramp transitions. The standard documents limited exceptions that allow a steeper 1:12 slope, but only where specific clause conditions are met, such as restricted run length and the presence of handrails. Because the standard is organized by clause number, it’s worth locating the exact paths and travel section relevant to your project before finalizing a design, since exceptions are narrowly defined rather than general permissions.
Provincial guidance tends to echo this structure while adding regional detail. British Columbia’s advisory notes to the building code recommend 1:20 where space allows, while acknowledging that 1:12 is permitted for shorter runs. The province’s Building Access Handbook frames the ramp as a complete system rather than a single number: it ties landing size and placement to the slope chosen, sets handrail requirements, and flags that steep ramps are harder to manage safely in wet or icy conditions. For renovations where space is tight, the handbook’s guidance supports keeping any steeper segment as short as practical and adding landings more frequently than the bare minimum, which gives permit reviewers a documented, defensible design choice.
Ontario’s accessibility guidance, found in the how to make public spaces accessible resource, takes a similar approach for outdoor and public spaces, setting specific slope and landing requirements for curb ramps and recreational trails while stressing that people with disabilities should be consulted during planning. Municipal rules can add further detail on top of provincial guidance, and curb ramps in particular sometimes carry their own permitted ratios distinct from building-interior ramps. Because requirements shift by jurisdiction and by project type, confirming the applicable rule with your local authority having jurisdiction before finalizing drawings is the only way to get permit-level certainty.

How to calculate ramp length from vertical rise
Three steps get you from a measured rise to a buildable ramp length.
- Measure the vertical rise: the exact height difference between the lower and upper surfaces, in millimetres or inches.
- Choose your target slope: 1:20 where space allows, or the 1:12 maximum where a code exception applies and conditions are met.
- Calculate the run: multiply rise by the ratio denominator. For 1:20, run equals rise times 20. For 1:12, run equals rise times 12.
A few worked examples show how much the ratio changes the footprint. For a small domestic threshold with 150 mm of rise, a 1:20 slope needs a 3,000 mm run, a 1:15 slope needs 2,250 mm, and a 1:12 slope needs 1,800 mm. For a moderate porch with 450 mm of rise, those same ratios require 9,000 mm, 6,750 mm, and 5,400 mm respectively. For a larger entrance with 900 mm of rise, the runs stretch to 18,000 mm, 13,500 mm, and 10,800 mm.
The pattern is consistent: gentler slopes buy safety and ease of use at the cost of length. When a calculated run gets long, it rarely makes sense to build one continuous ramp. The Building Access Handbook ties maximum run distances to slope, meaning a long rise must be broken into shorter runs separated by level landings, both to meet code and to give users a place to rest or change direction.
Landings, handrails, and surface details that complete the design
Slope is only part of what makes a ramp usable. The complementary features below are what turn a compliant slope number into a ramp someone can actually use safely.
- Landings: top and bottom landings are required at every ramp, with intermediate landings inserted at intervals tied to the slope and maximum run length, and the Building Access Handbook recommends level landings rather than curves wherever the direction of travel changes.
- Handrails: both sides are typically required once a ramp exceeds a short rise, set within a height range of roughly 865 to 965 millimetres, continuous and graspable along the full run, with extensions at the top and bottom and sometimes a second, lower rail for users with limited reach.
- Edge protection: a curb or guard along any open edge keeps a wheel or cane tip from slipping off, with minimum height requirements set alongside minimum clear widths for both single-direction and two-way ramps.
- Surface: the finish needs to be firm, stable, and slip-resistant, with cross-slope limits that differ for paved surfaces versus unpaved ones, plus drainage so water and ice don’t pool on the running surface.
Curved ramps are generally discouraged. Most wheelchair users cannot safely change direction while still on a slope, which is exactly why the handbook favours a straight run broken by a flat landing over a sweeping curve.
Pro Tip: Add a colour-contrasting strip and tactile indicators at the top and bottom of any ramp that meets a pedestrian route or doorway, so the transition is obvious to someone with low vision before they reach it.
Choosing a slope in practice, and when steeper is allowed
Given the choice, build the gentlest slope your space allows, and treat 1:20 as the target rather than 1:12 as the goal. A gentler slope takes less physical effort to climb under manual power, gives a scooter or power chair more margin for control, and holds up far better in rain, frost, or snow, conditions where a steeper ramp becomes genuinely risky.

Steeper slopes up to 1:12 are allowed in some situations, but the exceptions in model standards and provincial guidance come bundled with conditions, not a blanket permission. A steeper run is generally limited to a short length, must have handrails installed on both sides, and needs a firm, well-maintained surface, since the margin for error shrinks as the slope increases. These exceptions exist for constrained sites where a 1:20 ramp simply won’t fit, not as a default design choice.
Where your site doesn’t comfortably accommodate even a 1:12 ramp, the next step is a variance request or a direct conversation with the authority having jurisdiction before you finalize drawings. Be ready to show measured rise and available run, a sketch or scaled drawing of the proposed ramp, and a note on why a gentler slope isn’t achievable on that site. Reviewers generally want to see that you’ve already tried the preferred ratio and documented why it doesn’t fit.
Bridging the gap while a permanent ramp gets built
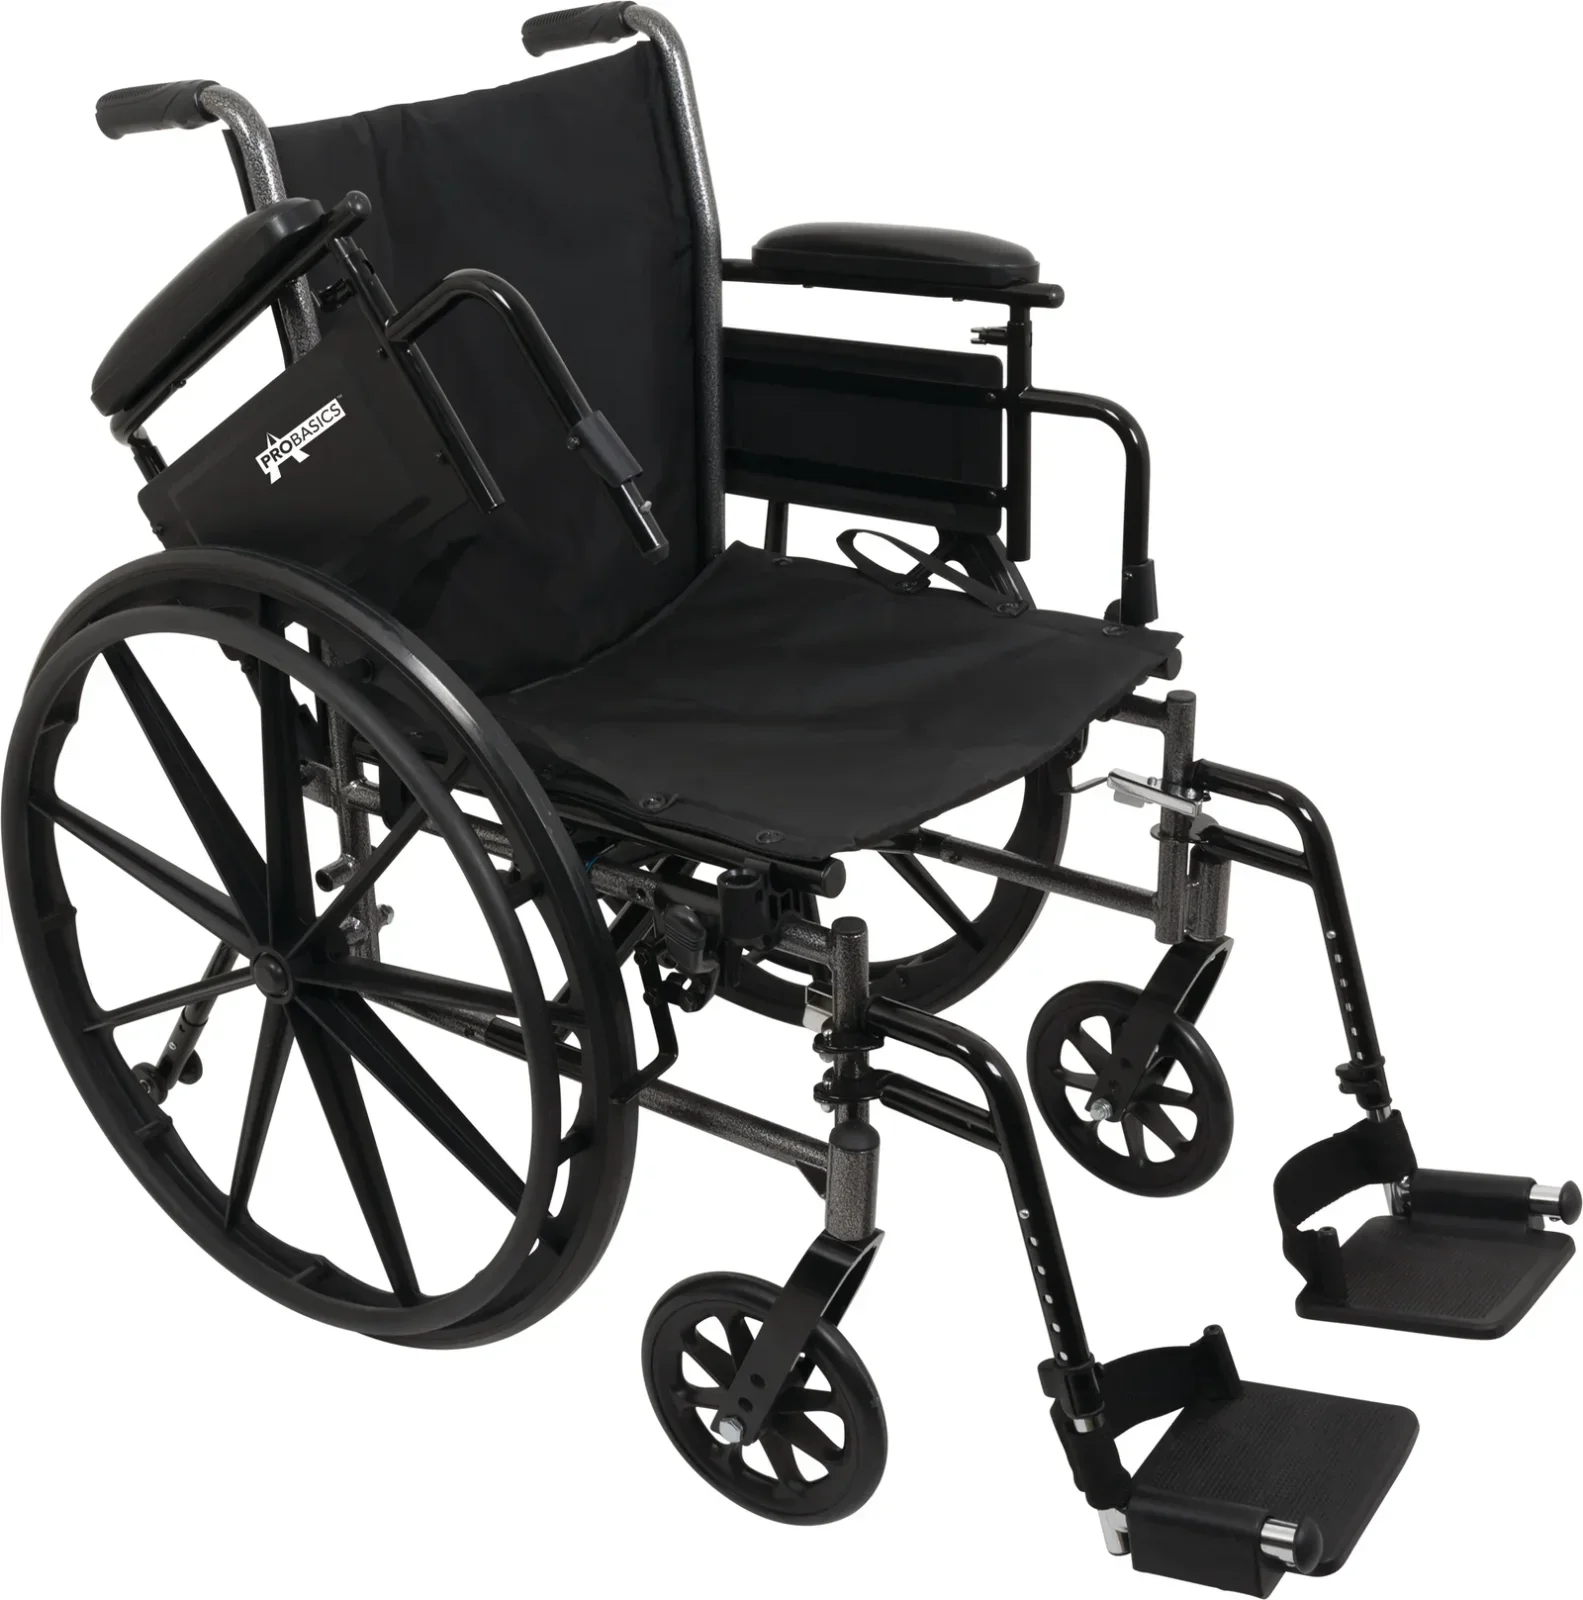
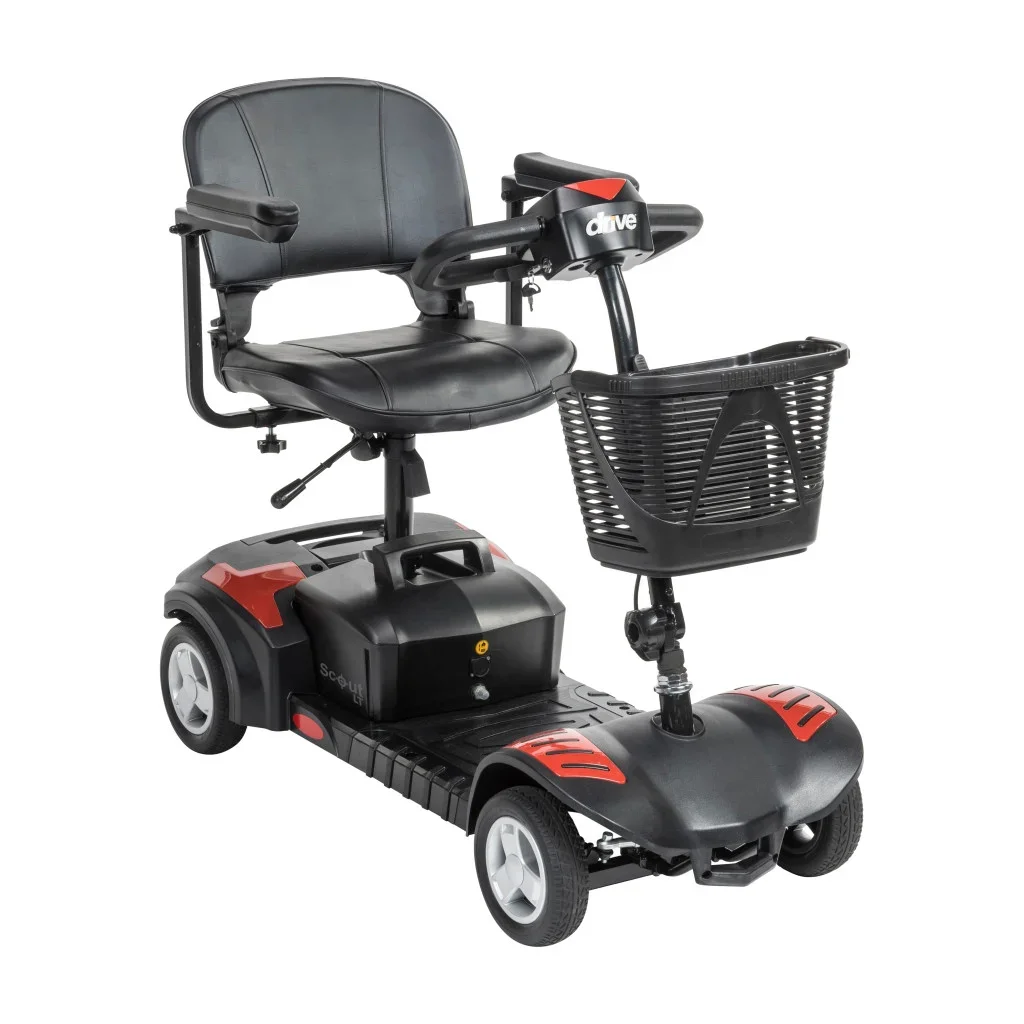
A permanent ramp can take weeks to design, permit, and build, and that timeline doesn’t always match an urgent need for home access. A temporary ramp rental or a short-term mobility equipment rental, including wheelchairs, transport chairs, or mobility scooters, can cover that gap safely while the permanent solution moves through planning. Rental equipment can often be delivered the same day, sanitized before delivery, and without requiring a deposit, which helps keep the process simple when time is tight.
Before reaching out, measure your vertical rise and note the available run at your entrance. Having those numbers ready lets whoever you contact, including our temporary ramp rental service, recommend the right equipment or ramp length for your situation immediately.
Keeping a ramp safe over the years
A ramp that met every slope and landing requirement on installation day can still become hazardous without upkeep. Surfaces wear smooth with traffic and weather, losing the slip resistance they started with, so a periodic check of the running surface for cracking, warping, or a slick patina is worth building into a regular maintenance routine.
Handrails loosen at their mounting points over time, particularly outdoors where temperature swings stress the hardware, so test them for firmness rather than assuming they’re still secure. Drainage matters as much in year ten as it did on day one: clear debris from any drainage channel before it causes water to pool and freeze on the ramp surface, since ice on a ramp is far more dangerous than ice on flat ground.
Edge protection and guards should be inspected for gaps or damage that could let a wheel slip off the side, and any tactile or colour-contrast markings at the top and bottom should be checked for wear, since a faded strip stops doing its job long before it looks obviously damaged. For ramps in colder regions, a seasonal check before winter sets in, confirming surface condition, drainage, and handrail stability, catches the issues that ice and snow will otherwise expose at the worst possible moment. Where a ramp serves a household with changing mobility needs, it’s also worth reassessing periodically whether the original slope and landing layout still match the equipment currently in use, since a ramp built for a manual wheelchair may need adjustment if a heavier scooter is introduced later.
Indoor versus outdoor ramps in healthcare settings
Indoor ramps inside a clinic, care home, or private residence deal with a more controlled environment: no rain, no ice, and generally more consistent lighting, which gives some flexibility in surface choice as long as slip resistance is maintained. Indoor ramps still need to meet the same slope and landing standards as outdoor ones, but the surface material can prioritize cleanability and quiet underfoot, since flooring near patient care areas is cleaned frequently and needs to tolerate equipment with soft or hard wheels equally well.
Outdoor ramps carry the added burden of weather. Drainage becomes essential rather than optional, surfaces need real traction in wet conditions, and the cross-slope limit for unpaved or semi-paved outdoor surfaces is typically more generous than the tighter limit set for indoor, paved ramps. In colder climates, an outdoor healthcare ramp also needs a maintenance plan for snow and ice clearing, since a facility serving people with mobility limitations can’t treat winter upkeep as optional the way a private home might.
The practical difference comes down to what the ramp has to resist. An indoor ramp is designed around daily wear and infection control, while an outdoor ramp is designed around weather resistance and long-term surface durability, and a healthcare setting often needs both types working together, an outdoor approach ramp leading to an indoor transition ramp at the entrance, each held to the standard appropriate for its environment.
Why minimum code slopes aren’t always the right slope
Codes set a ceiling, not a target. A 1:12 ramp might pass inspection, but that doesn’t mean it’s the right choice for the person who’ll use it every day, especially someone pushing a manual chair uphill in the rain. The people actually using a ramp should be part of the planning conversation, not an afterthought once the slope is already chosen.
If I had one piece of advice to add to every code reference in this article, it would be this: default to 1:20, build real landings, and install handrails even where the code technically allows you to skip them. Minimum compliance protects you legally. Thoughtful design protects the person using the ramp.
— Chandan
Seventh Chakra rentals: the easy temporary solution for safe access
While you plan, permit, or build a permanent ramp, we keep your access covered with same-day equipment across the Greater Vancouver area, sanitized before every delivery, with no deposit required to get started.

Our rental lineup includes the equipment most households need during that transition:
- Standard wheelchair rental for everyday indoor and outdoor mobility.
- Mobility scooter rental for longer outdoor distances and errands.
- Transport chairs, bariatric wheelchairs, and other rental categories for specific care needs.
If your household needs equipment today, not after a weeks-long permit process, browse our mobility scooter rentals and we’ll have the right equipment at your door the same day.
This article is general information, not a substitute for advice from a qualified lawyer. Consult a qualified legal professional about your own circumstances before acting on anything here.
FAQ
What is the best slope for a ramp?
A slope of 1:20 (5%) is widely recommended as the preferred target because it’s easier and safer for manual wheelchair users, especially in wet or icy weather. Steeper slopes up to 1:12 are sometimes permitted under building standards, but only as a limited exception with conditions like shorter run lengths and mandatory handrails.
What is the slope requirement for a wheelchair ramp?
The Accessible Canada model standard sets a maximum running slope of 1:20 for ramps under federal accessibility rules, with a narrowly defined exception allowing 1:12 in specific circumstances. Provincial and municipal codes add their own detail, so confirming the exact figure that applies to your project with the local authority having jurisdiction is the only way to be certain.
Is 5% slope a ramp?
Yes, a 5% slope corresponds to a 1:20 ratio, which is the running slope widely recommended as the safer standard in Canadian accessibility guidance. It’s gentler than the 1:12 (8.33%) maximum that some codes allow as a limited exception, which makes 5% the better choice wherever space permits.
Is a 10 degree ramp too steep?
A 10 degree slope works out to roughly a 1:5.7 ratio, well beyond the 1:12 maximum that building-access standards typically allow for a code-compliant ramp. At that angle, a ramp would generally fail accessibility requirements and would be difficult or unsafe for most wheelchair or scooter users to climb unassisted.
Sources
- Notes to Part 3 — BC building code accessibility notes / proposed notes to Division B subsection 3.8
- Ontario